2. First row
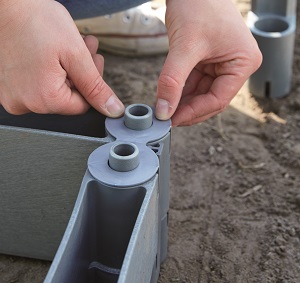
Start with the first row: 2 blocks each are attached with a connector. The connections are required at the four corners to prevent the connectors from slanting.
4. Rodent grate
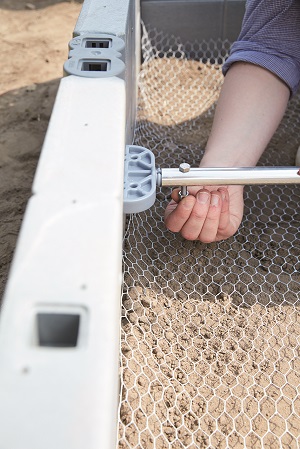
A ground grating (fine-meshed metal grid) can be inserted as rodent protection.
JUWEL art nr. 20183
5. Construction
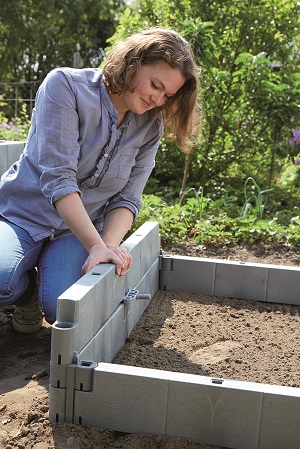
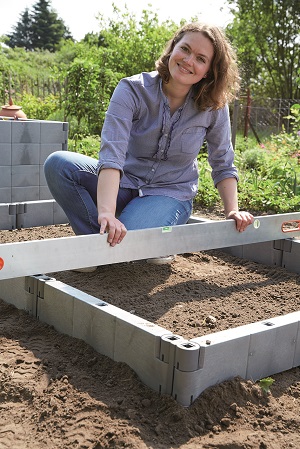
After the first row has been aligned and optionally has been fitted with a rodent grate, the next row can be started. To do so, simply place the garden elements on the bottom row, but at the points where the stabilizing set is installed, the profile connectors are inserted.
See next step!
6. Stabilize
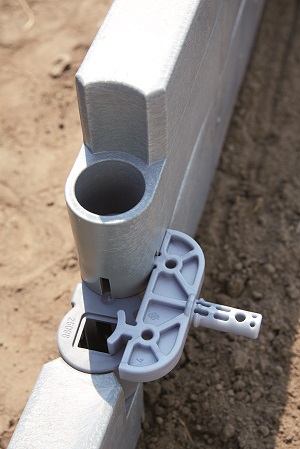
After the first series of garden elements, the connection plugs are installed to reinforce the longitudinal walls. The same stiffening is also used two garden element rows higher.
7. Locking
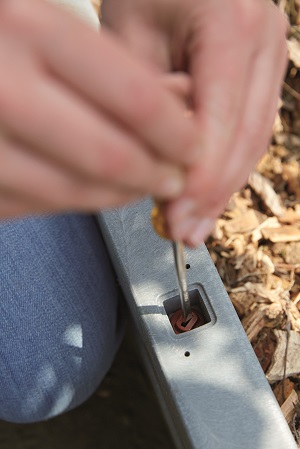
Only insert the connection plugs into every second recess in a row of garden elements and lock it with a 90 degree rotation. Insert staggered in the row above, i.e.. into the next recess such that the connection plug engages in the recess of the lower garden element.
8. Filling
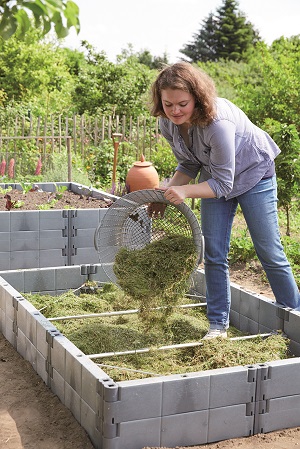
Already after the construction of the first row you should start with the filling. This is important for the later stability of the raised bed.
In the first two rows, flatten the chopped material and lawn cuttings, making sure that the stabilizing bars are well supported and that there are no holes in the filling material.
9. Cover plugs
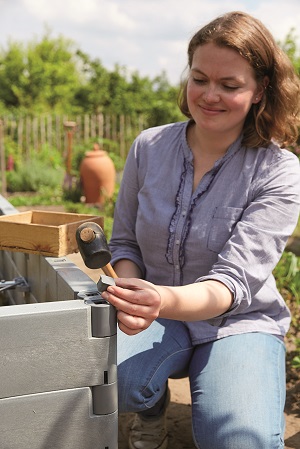
The cover plugs come, without exception, only into the recesses of the uppermost row.
10. Done
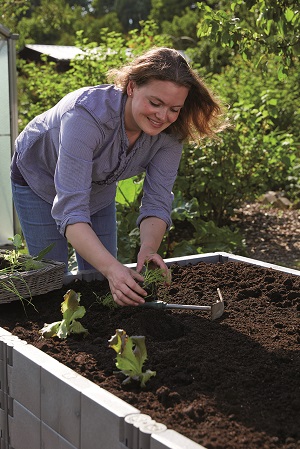
When filling, ensure that you fill the raised bed evenly. For better stabilization first at all 4 corners, then on the side walls!
When filling the raised bed, pay attention to suitable filling material. Heavy, sandy, stony garden soil is only suitable in a small layer. The specialist retailer or the nursery in your area is sure to offer the appropriate raised bed soil.
We wish you lots of fun and success in gardening!

